Get your house painting project off to a great start with our awesome tips! Applying these techniques will make it easy to transform the interior of your home with a fresh coat of paint. With our help, you’ll enjoy better results while saving time and money. Looking for house painting supplies? Find tools and paint for sale on Junk Mail today.
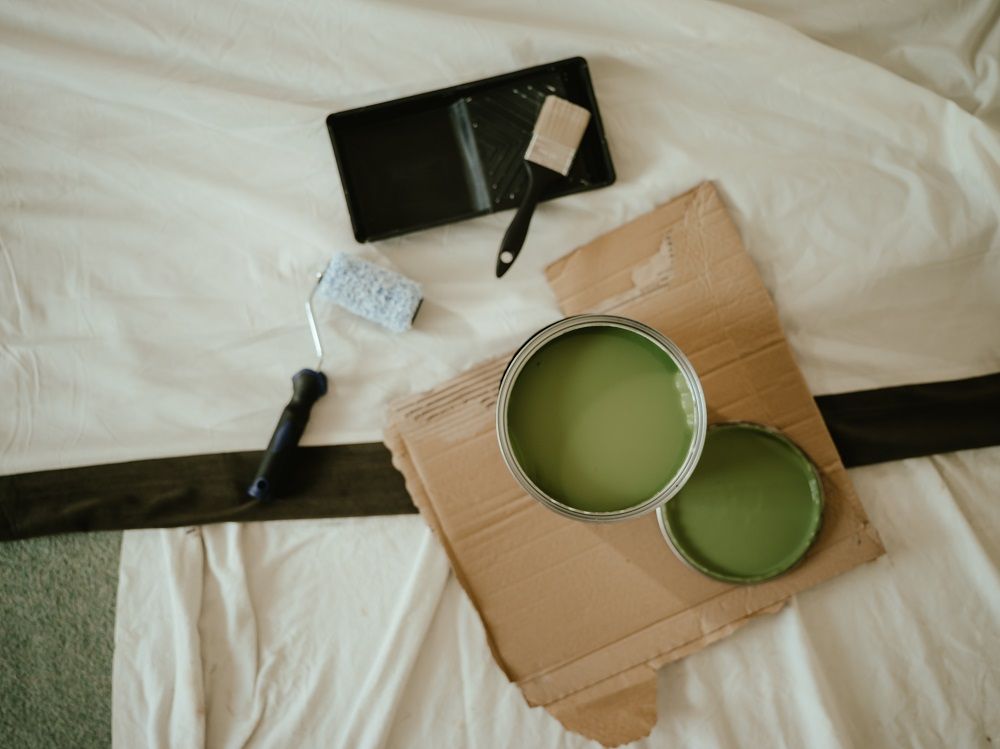 Photo credit: Annie Spratt on Unsplash
Make sure you have everything before you start painting
- Brushes
- Rollers
- Painter’s tape/masking tape
- Primer
- Paint
- Sanding paper
- Paint stirrer
- Canvas/plastic to cover the floor and furniture
- Roller tray
- Extension pole (if needed)
- Stepladders, screwdrivers, and other tools
- Cleaning supplies (for the walls and tools afterwards)
- Extra buckets for paint mixing (if needed)
- Putty knife
- Wall filler (if needed)
Invest in quality painting supplies
Rather invest in quality painting supplies to ensure you get a quality finish to make your effort worthwhile. Lower quality brushes and rollers can leave bristles, fuzz and lint embedded in the paint, which can be difficult to fix.
The correct preparation is key to your success
- Clean the surfaces
Clean the surfaces first before you even think of picking up a paintbrush. While this process takes a bit of extra time, it will reduce the risk of the paint chipping later on. Use a heavy-duty cleaner that’s been specifically made for pre-paint cleaning. You’ll benefit from improved paint adhesion and increase the longevity of your paint job. Wear gloves and use an abrasive pad to apply the cleaner with a circular movement.
- Use sandpaper
To get the best outcome, make sure that the surface is smooth before you start painting. Use sandpaper to level out the surface and remove rough patches. Don’t apply too much pressure to avoid damaging the wall. It’s also recommended to sand down the walls after filling any holes or cracks. Remember to vacuum up all the dust from sanding before you start painting.
- Cover or take off light switches and DB boards
Take off light switches, DB boards, and any other obstructions that might be in the way. Alternatively, cover it thoroughly with quality painter’s tape to ensure you don’t paint over it.
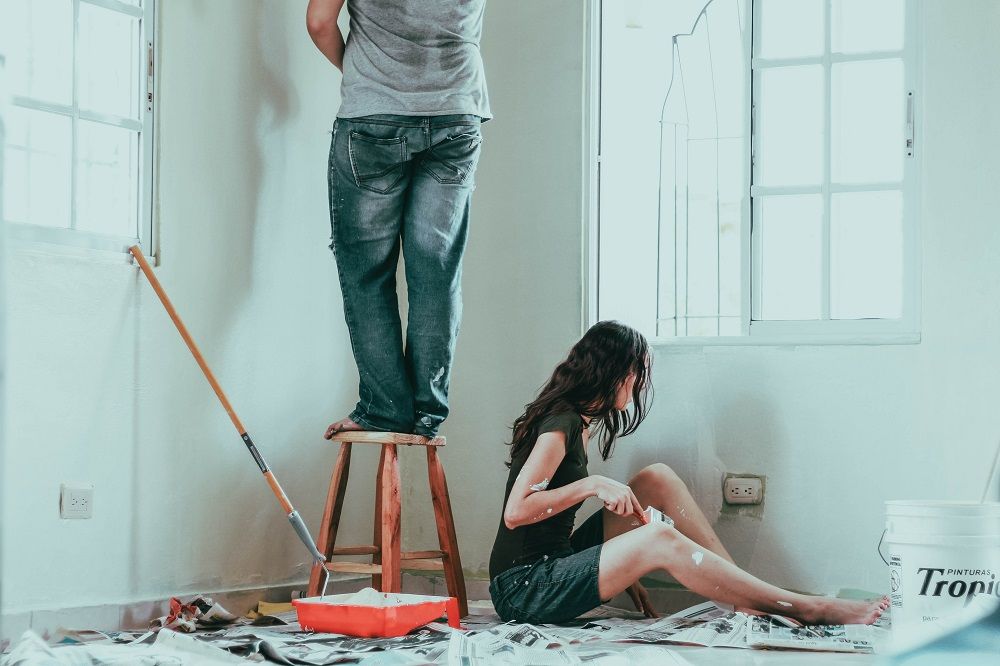 Photo credit: Roselyn Tirado on Unsplash
- Cover the furniture and the floor
If you have heavy pieces of furniture in your room, you can protect them with plastic or canvas sheets. Push them to the centre of the room before wrapping them up and taping the sheets at the bottom. Make sure you also cover the floor properly, as paint spills very easily and you don’t want to spend hours trying to clean your floors afterwards.
- Use the right tape
Apply quality painter’s or masking tape around the skirtings, light switches, and other surfaces you don’t want to paint.
- Apply primer
It’s advisable to use a primer before painting a wall, as it helps cover up darker colours, but also helps prevent dull spots on the wall where you’ve filled holes or covered up cracks. Primer also boosts paint adhesion, blocks stains, and improves coverage. For better results, mix a little bit of topcoat paint in with the primer first.
Mix the paint properly
Mix the paint properly before you use it. To get the desired effect, make holes in the stirrer. The paint becomes aerated when it flows through the holes, which results in an improved consistency.
Invest in quality paint
While you may be tempted to buy the cheapest paint, this approach will cost you more in the long run. Not only will the interior of your home look better with quality paint, but your paint job will also last longer. Your house painting project will take considerable time and effort, so you don’t want to have to redo it in the future.
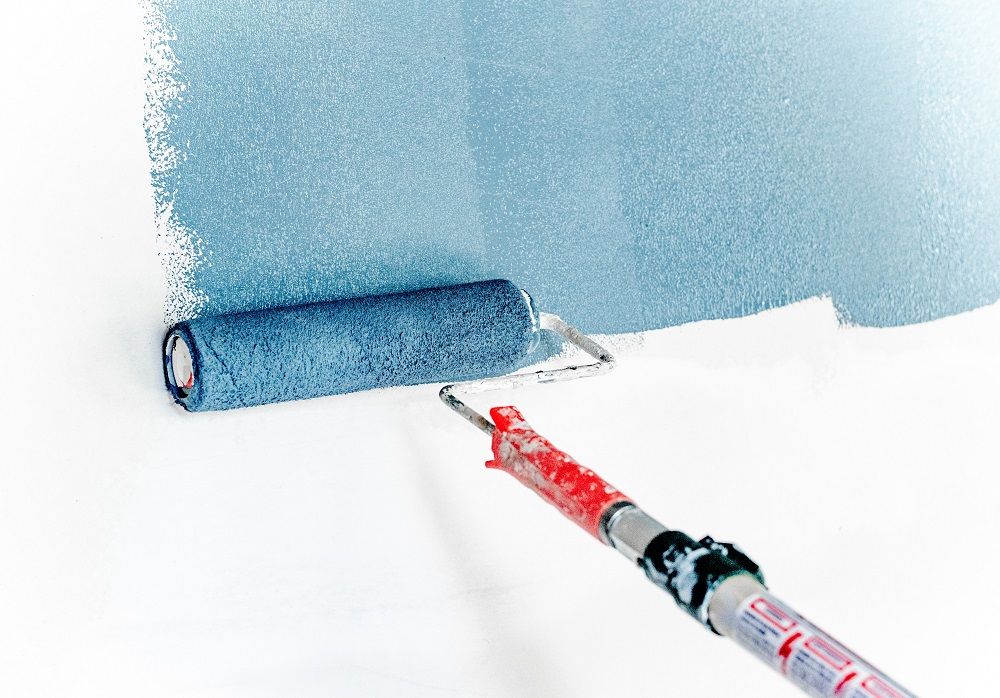 Photo credit: Theme Photos on Unsplash
Start with the trim
Get the trim done first, then the ceiling, and then the walls. Let the trim dry completely before you apply tape to it. When you start painting the walls, make sure that you finish an entire wall before starting the next one.
Remove the tape carefully
The tape is used to protect the trim from splashes of paint. However, removing the tape can rip bits of paint off the wall. To get a professional finish to your interior, let the paint dry before you remove the tape. Use a sharp knife to loosen the tape carefully before you pull it off.
Store your paint correctly
Prevent your paint from drying out by placing plastic wrap over the opening before closing the lid. Take a rubber mallet to tap around the edges of the lid to ensure it is sealed properly all around. If you don’t have a rubber mallet, you can use a wooden block on top of the lid and hammer the block to set the lid in place. Don’t hammer the lid in the middle as this can crack it or disrupt the air seal. You need to store the paint in a place with a constant temperature, away from direct sunlight. The garage or a closed cupboard is advisable.
While house painting projects can seem daunting at first, there’s plenty of tricks you can use to ensure that the process goes smoothly. A fresh coat of paint can brighten up the interior of your home and increase its value. Find paint and painting supplies for sale on Junk Mail and get your project off to a great start.
You may also like
Budget-Friendly Home Makeover: Great Finds for Spring Decorating
03/07/2025

Top Winter Appliances Under R2 000 on Junk Mail to Buy This July
05/06/2025
Winter Home Heating Solutions: Best Deals on Junk Mail
30/04/2025